


How to Measure Patio Door Replacement Openings

A patio door that sticks, leaks air, or no longer locks securely may be ready for replacement. Knowing how to measure patio door replacement openings gives you a useful starting point, but the numbers alone do not tell the whole story. The condition of the frame, sill, surrounding wall, and exterior trim can all affect what will fit properly and how the finished installation performs.
For Delaware and Pennsylvania homeowners, careful measuring is especially worthwhile. Our seasonal temperature swings, wind-driven rain, and humid summers can expose small installation gaps quickly. A correctly sized patio door, installed in a sound opening, helps protect comfort, energy efficiency, and the long-term condition of the area around the door.
Start by Identifying What You Are Measuring
Before pulling out a tape measure, determine whether you are measuring the existing door unit or the structural opening behind it. These are not the same measurement.
The existing door unit includes the operating panels and frame currently visible from inside the home. The rough opening is the framed space in the wall that holds the entire door unit. When replacing a patio door without changing the opening, a contractor often begins with measurements of the existing unit, then confirms the rough opening and surrounding conditions during installation planning.
Do not assume that the visible glass size, the width of the moving panel, or the opening created when the door is slid open equals the replacement size. A replacement patio door must account for the complete frame, installation clearance, flashing or sealing requirements, and any repairs needed around the opening.
Tools You Will Need
A steel tape measure is the main tool. A 25-foot tape is usually long enough for standard sliding or French patio doors. You will also want a pencil and notepad, a level if you have one, and a camera or phone for taking clear photos of the interior, exterior, sill, and hardware.
Measure in inches and write every number down as you go. Avoid relying on memory or rounding up. Even a small difference can matter when ordering a custom door.
How to Measure Patio Door Replacement Width
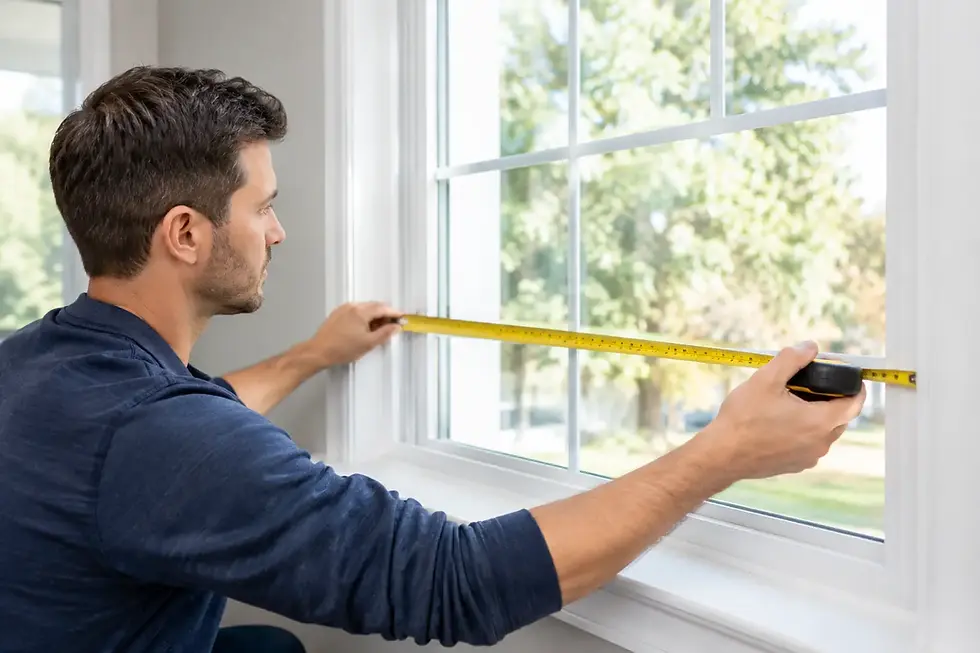
Measure the width of the existing door frame at three locations: near the top, at the center, and near the bottom. Measure from the inside edge of one jamb to the inside edge of the other jamb. Record all three dimensions.
If the measurements differ, do not simply choose the largest or smallest number. Differences may mean the frame is out of square, the jambs have shifted, or the opening has settled over time. Older homes often have small variations, and they are manageable when identified before a new door is ordered.
For a preliminary replacement estimate, the narrowest width is generally the most useful reference point. However, a professional will verify whether that narrow point is caused by trim, an old frame, structural movement, or another condition that needs attention.
Check the Jambs, Not the Trim
Interior casing and exterior brick molding can conceal the actual door frame. Measure between the door jambs rather than from one piece of decorative trim to another. Trim dimensions can make an opening appear much wider than it truly is.
If you cannot clearly identify the jamb edge, take photos and avoid removing trim just to obtain a measurement. Removing trim can expose damaged caulk, break painted wood, or create an unnecessary repair. A patio-door specialist can inspect those details during an in-home consultation.
Measure the Height in Three Places
Next, measure from the top of the door frame to the sill at the left side, center, and right side. Again, record each dimension rather than assuming the floor or sill is level.
A patio door opening can vary in height because of settlement, an uneven sill, water damage, or a previous installation that was not properly leveled. The shortest height is an important reference, but it is also a signal to look more closely at the sill. A replacement door should not be forced into an opening that has a soft, rotted, or sloped base.
Pay attention to floor coverings as well. Tile, hardwood, laminate, and carpet may meet the door differently than they did when the existing unit was installed. A new door needs proper clearance to operate without dragging, while the threshold must still provide a secure transition and weather-resistant seal.
Measure the Depth of the Frame
Frame depth is often overlooked, particularly with sliding patio doors. Measure from the interior face of the frame to the exterior face. This helps identify whether the replacement unit can work with the wall thickness, existing trim, exterior siding, brick, or stucco details.
Depth does not always determine the final door size, but it affects installation planning. For example, an exterior-mounted storm door, thick interior trim, or masonry veneer may limit the type of frame and trim package that makes sense. A door that fits the width and height but conflicts with the wall assembly can lead to avoidable modifications.
Check Whether the Opening Is Square and Level
Measure diagonally from the upper left corner of the frame to the lower right corner, then from the upper right corner to the lower left corner. If those diagonal measurements are noticeably different, the opening may be out of square.
You can also place a level on the sill and against both side jambs. This is not a substitute for a full site assessment, but it can reveal obvious concerns. A door frame that is significantly out of level may explain why the panel rolls poorly, the lock does not line up, or daylight appears around one corner.
A small variation does not automatically mean the project is complicated. Experienced installers routinely address normal irregularities in older homes. The key is accounting for them before the new door is manufactured and before installation day.
Inspect the Sill and Surrounding Area
Measurements are only part of the job. Look closely at the bottom of the frame, especially if you have noticed leaks, drafts, staining, or soft flooring near the door. Press gently on exposed wood trim and the interior floor at the threshold. Spongy wood, peeling paint, swelling, or discoloration can indicate moisture intrusion.
Outside, inspect the caulk line, trim, siding, and the area below the sill. Cracked sealant alone is often repairable, but damaged exterior wood or loose cladding may need to be corrected so the replacement door has a stable, protected opening. Proper flashing, insulation, and sealing are just as important as the door itself.
This is also a good time to think about exterior finishing. Aluminum capping can protect exposed exterior wood around a patio door opening and create a clean, durable appearance. Whether it is appropriate depends on the existing trim and the details of the home.
Record Door Style and Operation
Along with width, height, and depth, note how your current door operates. Is it a two-panel slider, a three-panel slider, a hinged French door, or a center-opening patio door? Which panel moves, and which direction does it slide or swing?
Take note of the screen door, handle location, lock condition, and access needs. A homeowner replacing a basic slider may decide that a larger glass area, a different operating configuration, or better security hardware is worth considering. On the other hand, preserving the existing opening can keep the project more straightforward and reduce exterior modifications.
Door style also affects how the space is used. A hinged door needs swing clearance inside or outside the home. A sliding door saves floor space but needs a smooth, well-supported track. The right choice depends on the room layout, traffic patterns, view, and budget, not measurements alone.
When DIY Measurements Are Enough and When They Are Not
Your measurements are useful for an initial conversation and a general understanding of the project. They can help establish whether you have a common-size opening or a larger, custom configuration. They should not be treated as final ordering dimensions.
Final measurements are best handled by the company supplying and installing the door. This protects you from ordering a unit that does not account for frame condition, drainage, clearance, wall depth, trim removal, or structural repairs. It also ensures the installer takes responsibility for the fit and performance of the completed work.
At Just Windows by Slocomb, a free in-home consultation provides the opportunity to evaluate both the opening and the door options that suit your home. After four decades working with replacement windows and doors, we know that the details hidden behind old trim often matter as much as the dimensions on a tape measure.
A careful set of homeowner measurements can start the process, but a patio door should be selected and installed based on the full condition of the opening. When the door is measured correctly, sealed correctly, and supported by sound materials, it can bring easier operation, a better view, and dependable protection from the weather for years to come.


Comments